Hi again for part two of my post in the creation of my Seahorse Reef Canvas.
Last time I explained the process that went into creating the background that
I used on this canvas, this time I'll explain how I created the three dimensional
embellishements and how I put everything together!

For this part of the project I used the following products:-
Polymer Clay (Fimo) and Paper air dry clay (Hearty)
Various moulds from
 Pebeo Gilding wax and various colours of Viva Decor Inka Gold,
Various moulds from
silicone glue and some screws.

Step 1 Using the background I created in the first part of this two part
post, I used some cardboard that was cut to the same dimensions as the
canvas frame and stuck it to it..

Step 2 For this canvas I used a deep canvas frame and coloured
all four sides using black acrylic paint. Once dry I then cut off the
canvas material, as this project uses the reverse of the canvas and
not the front.

Step 3 Taking my background that I stuck onto cardboard, I glued it to
the canvas frame and left it to dry.

Step 4 Once dry I flipped the whole thing over and using small screws
I screwed the background to the frame, as glue alone most likely
wouldn't hold it because of the weight both the wooden frame and
embellishments I would add later. Using black acrylic paint
I painted the back of the canvas and lastly added a metal hanging
loop, so that the canvas could be hung up.

Step 5 Using crafting clay (either polymer clay or Hearty paper clay)
I started to make all of the 3D embellishments that I wanted to use
on the canvas. All the moulds are from Katy Sue Designs and can
be used for all types of projects, from mix media, card making
or even cake decorating. I placed the mould onto my glass mat
and rolled some clay to form a sausage like shape.

Step 6 I then placed the clay into the mould, going with it's shape
and started to push it in using my fingers.

Step 7 Using a large metal ball tool I pushed the clay into the
mould. Don't use a sharp tool to press in the clay, otherwise
you could end up damaging the mould.

Step 8 Once all the clay was in the mould I used a smaller
ball tool to push the clay right into all of the finer detail. Then using
the larger ball tool, I gently pulled the clay back from the outer
edge of the mould, so that you could clearly see the entire outer shape
of the design. This porcess helps when you release the clay
from the mould.


Step 9 Folding the mould almost in half and supporting the clay,
I eased out the clay shape.


Step 10 Some of the embellishments required a marble type
mix to the clay. To do this I took two colours of polymer clay and
rolled them out. I used more white than brown clay, but it's up
to you depending what sort of look you are after.


Step 11 I twisted, folded and rolled the clay to lightly mix
the two colours together.


Step 12 Then I pulled the clay apart until I got the marble effect I
wanted. Don't do this too much, otherwise you'll start to
totally blend the colours together, this will happen even more
so if you're using Hearty air dry paper clay.


Step 13 Finally I pushed the clay into the mould and used the
same process as before to ensure I got a good cast, before
releasing the clay out of the mould. The really beautiful thing
about using the marbling effect, is that every single time you
will get a totally unique colour mix.
Step 14 Depending on what type of clay you have used, you'll
either need to let it air dry or bake it in an oven before you can
start using and decorating them.


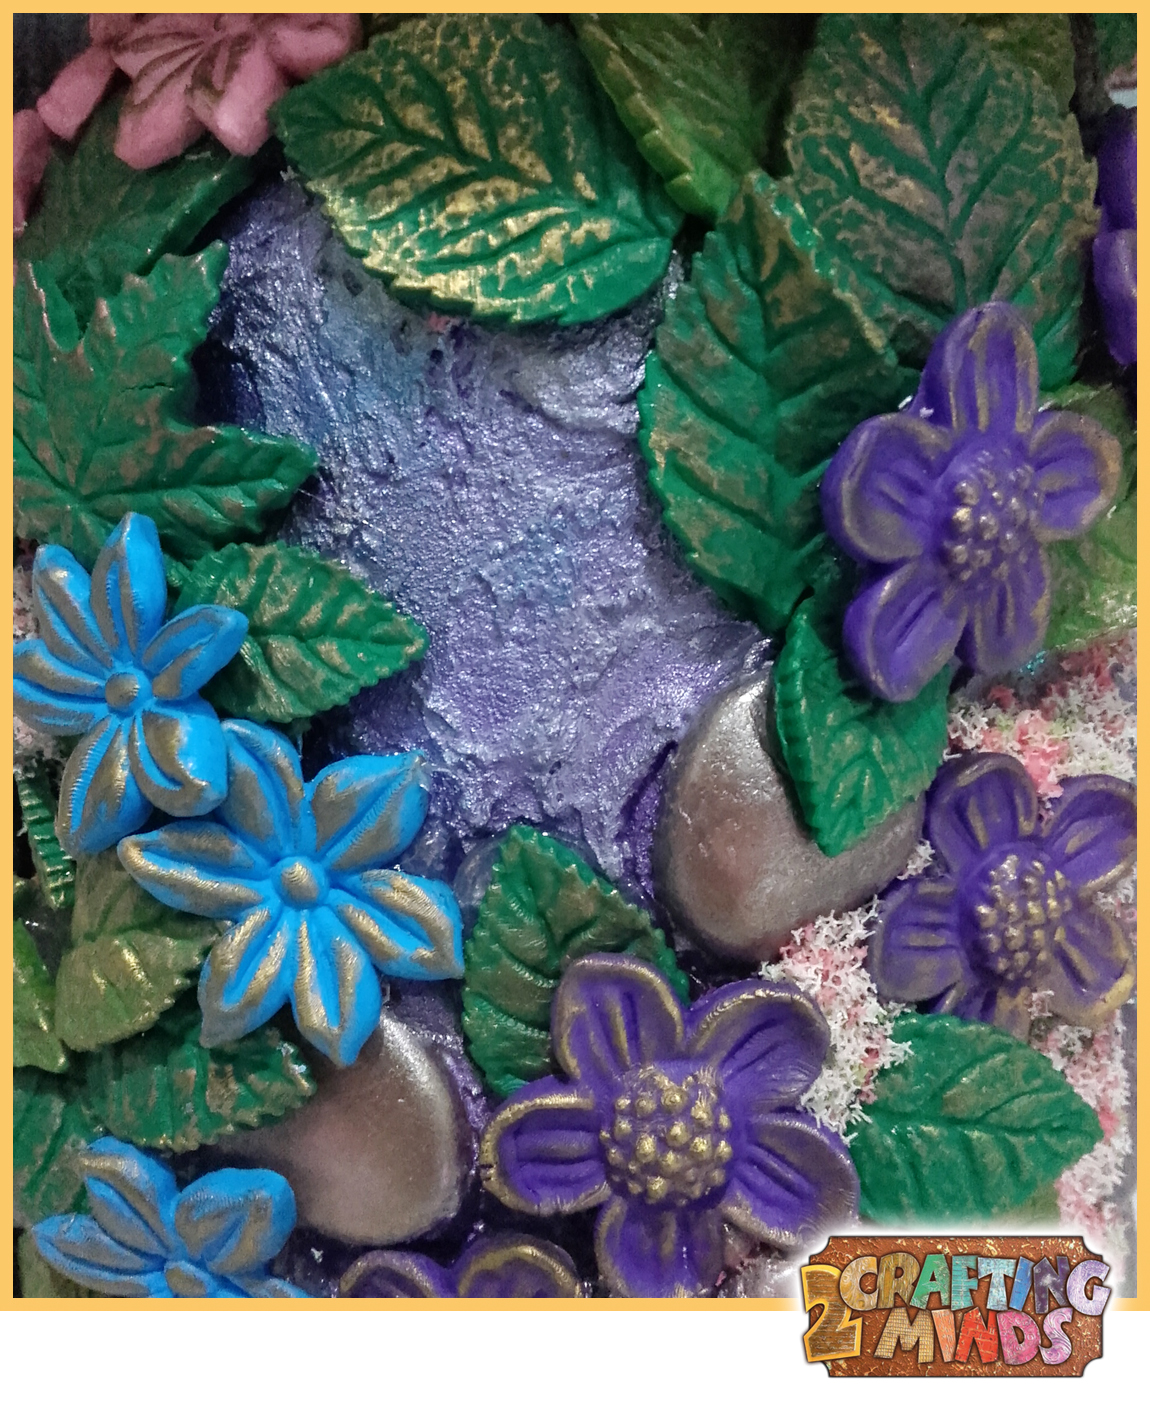
Step 15 I used Pebeo gilding wax to bring out the detail on almost
all of the clay pieces. Simply apply a very small amount to the tip
of your finger and then tap you finger onto a glass mat. Lightly
run your finger over the area you want to gild. Let it dry for a
few minutes before buffing with a clean white cloth.


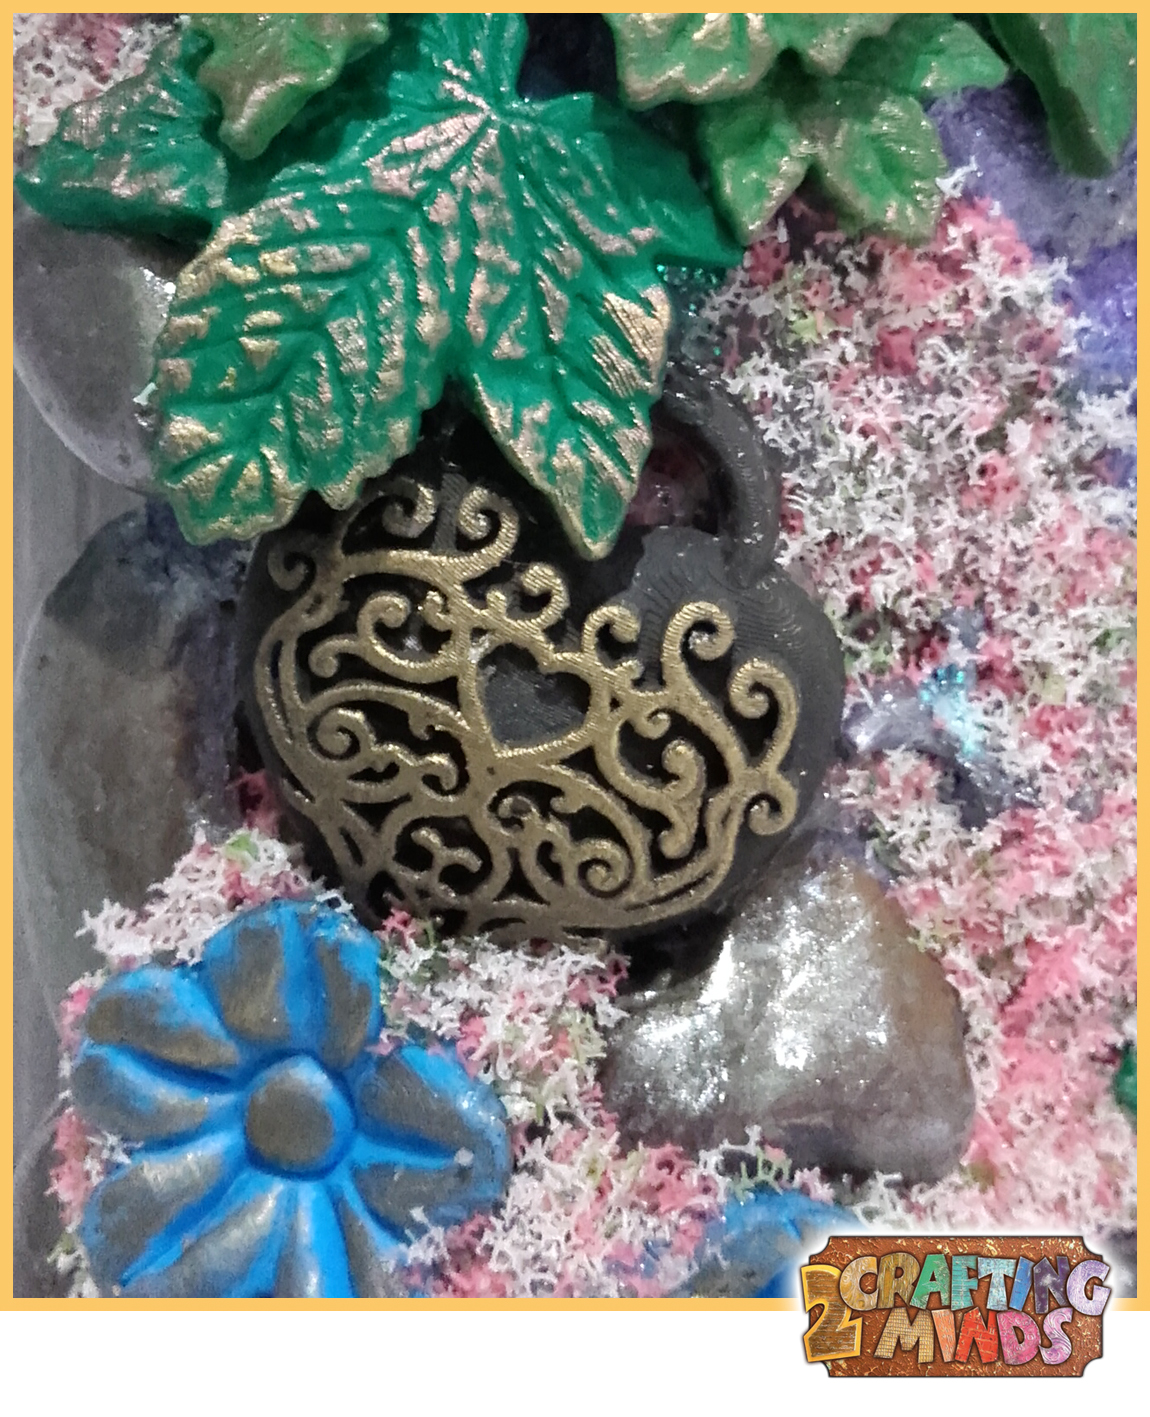
Step 16 Now for the fun bit! Arrange all the pieces to start forming
your final canvas. I used a silicone glue to hold everything in place.
For the two seahorses, I painted the clay using various colours
of Viva Decor's Inka Gold, but any type of decorative paints
would do. I also added a few air bubbles to the background
using Glossy Accents to help create that under the sea feel.


I Hope you've enjoyed the second half my post.
Samantha and Antony

Step 1 Using the background I created in the first part of this two part
post, I used some cardboard that was cut to the same dimensions as the
canvas frame and stuck it to it..

Step 2 For this canvas I used a deep canvas frame and coloured
all four sides using black acrylic paint. Once dry I then cut off the
canvas material, as this project uses the reverse of the canvas and
not the front.

Step 3 Taking my background that I stuck onto cardboard, I glued it to
the canvas frame and left it to dry.

Step 4 Once dry I flipped the whole thing over and using small screws
I screwed the background to the frame, as glue alone most likely
wouldn't hold it because of the weight both the wooden frame and
embellishments I would add later. Using black acrylic paint
I painted the back of the canvas and lastly added a metal hanging
loop, so that the canvas could be hung up.

Step 5 Using crafting clay (either polymer clay or Hearty paper clay)
I started to make all of the 3D embellishments that I wanted to use
on the canvas. All the moulds are from Katy Sue Designs and can
be used for all types of projects, from mix media, card making
or even cake decorating. I placed the mould onto my glass mat
and rolled some clay to form a sausage like shape.

Step 6 I then placed the clay into the mould, going with it's shape
and started to push it in using my fingers.

Step 7 Using a large metal ball tool I pushed the clay into the
mould. Don't use a sharp tool to press in the clay, otherwise
you could end up damaging the mould.

Step 8 Once all the clay was in the mould I used a smaller
ball tool to push the clay right into all of the finer detail. Then using
the larger ball tool, I gently pulled the clay back from the outer
edge of the mould, so that you could clearly see the entire outer shape
of the design. This porcess helps when you release the clay
from the mould.


Step 9 Folding the mould almost in half and supporting the clay,
I eased out the clay shape.


Step 10 Some of the embellishments required a marble type
mix to the clay. To do this I took two colours of polymer clay and
rolled them out. I used more white than brown clay, but it's up
to you depending what sort of look you are after.


Step 11 I twisted, folded and rolled the clay to lightly mix
the two colours together.


Step 12 Then I pulled the clay apart until I got the marble effect I
wanted. Don't do this too much, otherwise you'll start to
totally blend the colours together, this will happen even more
so if you're using Hearty air dry paper clay.


Step 13 Finally I pushed the clay into the mould and used the
same process as before to ensure I got a good cast, before
releasing the clay out of the mould. The really beautiful thing
about using the marbling effect, is that every single time you
will get a totally unique colour mix.
Step 14 Depending on what type of clay you have used, you'll
either need to let it air dry or bake it in an oven before you can
start using and decorating them.


Step 15 I used Pebeo gilding wax to bring out the detail on almost
all of the clay pieces. Simply apply a very small amount to the tip
of your finger and then tap you finger onto a glass mat. Lightly
run your finger over the area you want to gild. Let it dry for a
few minutes before buffing with a clean white cloth.


Step 16 Now for the fun bit! Arrange all the pieces to start forming
your final canvas. I used a silicone glue to hold everything in place.
For the two seahorses, I painted the clay using various colours
of Viva Decor's Inka Gold, but any type of decorative paints
would do. I also added a few air bubbles to the background
using Glossy Accents to help create that under the sea feel.


I Hope you've enjoyed the second half my post.
Until next time, Happy Crafting!
Samantha and Antony